Hello good friends! Here are two fun facts about me:
- As part of my PhD research, I study DNA.
- I do mean things to it, like flipping bases out of the polymer (video)
- and pulling it apart by the ends (video)
- I am very anal-retentive.
The combination of these two items means I get very (very) bothered by incorrect rendering of DNA. Would you like to know how to draw DNA correctly? Well, you are in the right spot. Let’s get started.
Draw an X. It should be 1.5 times wider than it is tall. If you are drawing by hand, use a ruler. The proportions are important here.

Now draw a lot of Xs on top of that one, so you get a nice ziggity-zaggity pattern.

To illustrate my next point, it’s important to tell the two strands apart, so we’re going to use our magic poof button and color one strand red and one strand blue:

poof
Right now the spacing between the two strands is exactly even, but that doesn’t happen in real DNA. Perhaps you have heard of the major and minor grooves. Well, we’re going to move the red strand down about 50% of an X-height so that there is unequal spacing between the two strands1:

Voila! Now we have our skeleton to start drawing the DNA ribbons. For each leg of the DNA, we’re going to draw a ribbon shape over top it.

Practicing drawing consistent squiggles for your ribbons; I find the more evenly I can draw my ribbons the better the finished product looks. Draw ribbons for both strands. I like to do one strand first and then the other.


Now comes a really fun part! We’re going to erase some of the lines to show which parts of the strands are on top of the other strand. BE CAREFUL. There is a wrong way to do this.
Allow me to explain. There’s this idea in chemistry called chirality. The fancy definition for this is “non-superimposable mirror images.” Let’s break that down for easier digestion. “Mirror images” is easy enough to understand. If you take a molecule and swap it left-to-right, you have its mirror image! Easy peasy.
What about “non-superimposable”? That means that if you take the molecule’s mirror image, no matter how you rotate, translate, or send wishful vibes at it, it won’t match up perfectly with the original. A good example on the macro-scale is a pair of gloves. You have a right glove and a left glove, and they can mirror each other, but you’ll never get them to stack on top of each other perfectly. In chemistry, we actually use the terms “right-handed” and “left-handed” for molecules, to illustrate the exact same concept.
Chirality is very important in biology. Sugar is chiral: one mirror image will feed your brain, the other will do absolutely nothing for your body. It’s even more important with pharmaceuticals: often one enantiomer2 will save your life and the other is poison. No bueno.
DNA is a chiral molecule. That means that how we choose which way the helix turns is important: one way you will live to see another day, the other and your complete genetic blueprint is lost. Pay attention to the pretty picture:

This DNA is “right handed”: as the helix twists from top to bottom, the DNA twists from right to left. That means that if you choose a strand in the front of the DNA, it should go top-right to bottom-left3 and NOT the other way around.
Whew! That was a lot of work! But now we have the DNA ribbons (aka backbone) completely drawn. Next up: adding bases! Let’s pencil them in:

There are some important things to note about the base pairs:
- They come in pairs. Each little log I’ve drawn represents two bases.
- Some of the bases are longer than the others. Each pair is made up of a short base and a long base.
- There are exactly ten (10) base pairs per full helical turn. Exactly. The best way I’ve found to draw this is to put a little circle where the two strands overlap, and put exactly four base pairs in-between. The circles won’t show up in the final drawing, but they’ll help you space things out.
Ready to finish up? I’ve erased the parts of the bases that are covered up by the backbone, and colored them so they look all nice and paired up. Remember that adenine (a big base) will always pair with thymine (a little base), and guanine (a big base) will always pair with cytosine (a little base).4 Color accordingly.

And now for something (slightly) different
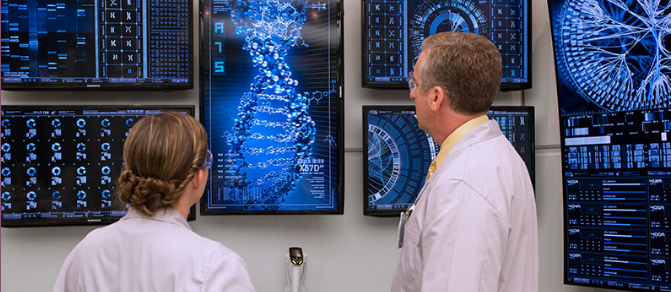
Now, my dearest readers, you have all the tools to count the errors of the DNA depicted in Jurassic World:

From the Jurassic World website
Let’s tally the sins, shall we?
- This DNA is far too thin: it should be about half as tall as it currently is.
- The grooves are evenly spaced. No major or minor groove.
- WRONG CHIRALITY! Aaaaaah!
- I count ~20-24 base pairs per helical turn. Neeewp newp newp.
And now we know why Addie wanted to flip a table during certain scenes of Jurassic World. Or basically any time DNA is depicted in the media. Don’t be that guy: learn to draw DNA correctly. (plz for me)
I adapted this tutorial from two places:
- How to draw cartoons: DNA (which has good drawing advice, but poor science)
- and How to spot a badly-drawn DNA helix (which has good science but no drawing advice)
